What to Expect During a Dental Implant Procedure: Your Complete Guide
Table of Contents
- Introduction: Starting Your Dental Implant Journey With Confidence
- Phase 1: Preparation – Getting Ready for a Good Result
- First Visit & Check-up
- Extra Procedures (If Needed)
- Instructions Before Your Procedure
- Phase 2: Implant Placement – The Surgery
- Numbing & Sedation Options
- The Surgical Steps
- Phase 3: Healing & Osseointegration – The Important Waiting Time
- What to Expect Right After Surgery (First 24-72 hours)
- The Osseointegration Process (3-6 Months)
- Phase 4: Abutment & Crown Placement – Finishing Your Smile
- Placing the Abutment
- Making & Placing the Final Crown
- Long-Term Care & Upkeep for Your Dental Implants
- Daily Mouth Cleaning
- How Long They Last & Success Rates
- Possible Problems and How They Are Handled
- Common, Easy-to-Handle Side Effects
- Rare Problems
- When to Call Your Dentist
- Conclusion: Feeling Ready to Start Your Journey
Introduction: Starting Your Dental Implant Journey With Confidence
If you’re reading this, you’re probably thinking about getting a dental implant—or maybe you’ve already decided, but you’re nervous and have lots of questions. I’ve been there myself. Facing dental implant surgery for the first time, I wanted to know exactly what would happen, how much it would hurt, how long I’d be recovering, and—honestly—if I’d end up with a smile I’d be proud of.
Having gone through this journey and spoken with both dental experts and other patients, I decided to share my step-by-step experience in detail. I’ll walk you through what you can expect before, during, and after a dental implant procedure, and give you all the real details that made me feel more comfortable and calm.
By the time you finish reading, my goal is simple: you’ll feel less worried, more sure, and truly ready for your dental implant journey.
Phase 1: Preparation – Getting Ready for a Good Result
You can’t just walk into a dental clinic and get an implant on the spot. It starts with planning and care just for you, which, in my experience, makes everything go smoother and feel less scary.
First Visit & Check-up
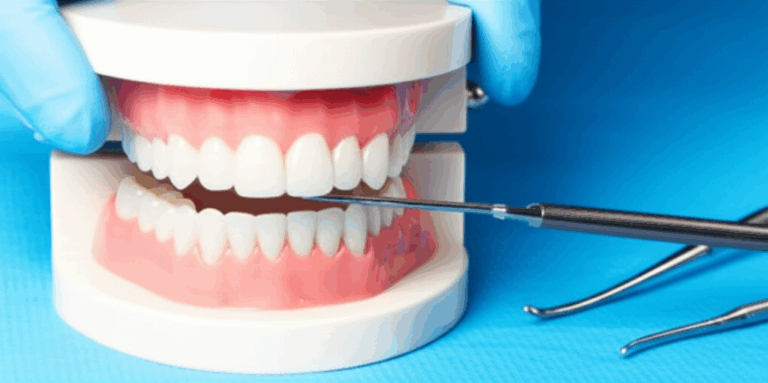
My journey started with a complete dental check-up. The dentist took X-rays and a 3D CT scan—honestly, this was more advanced than I thought! The CT scan gave a clear map of my jawbone, nerves, and sinuses, which is very important for your safety. If you’re wondering why all this is needed, it’s to avoid nerve damage and make sure the implant fits well in the bone.
During this first visit, my oral surgeon looked at my medical history, asking questions about my overall health, medicines, and habits like smoking. It turns out things like diabetes or smoking can affect how you heal and how well it works. If you have concerns about your health, this is definitely the time to talk openly.
What surprised me was how much time the team spent talking about what I wanted. We talked about the number of missing teeth, the exact spot, how much the implant would show when I smiled, and the whole timeline—including how long the entire dental implant process would likely take.
You might hear about a “treatment plan” at this stage. It’s a plan just for you, showing every step and the cost. If you’re thinking about other options, your dentist might compare dental implants to dental bridges or even full dentures. I found it helpful to think about the good points before deciding.
Extra Procedures (If Needed)
Here’s something I learned: Not everyone’s jawbone is ready for an implant. My dentist explained that the bone in my upper jaw got thinner after I lost my tooth—this is common if you had a tooth pulled months or years ago. This is when extra procedures can be needed.
Tooth Extraction
If your bad tooth is still there and needs to be pulled, sometimes the implant can be put in right after. In my case, pulling the tooth and placing the implant were separate steps, with some healing time in between.
Bone Grafting
Because my bone was a bit thin, I needed a small bone graft—basically, a bit of bone material added to make the area stronger. This sounds scary, but I found the healing time was pretty easy to handle. Usually, bone grafts need a few months to heal before the implant is placed, but I felt better knowing this step could mean better results in the long run.
Sinus Lift / Ridge Augmentation
For some people, especially in the upper jaw, the doctor may talk about a sinus lift. This lifts the sinus lining and adds bone if it’s not tall enough for the implant. Ridge augmentation reshapes or fills out the jaw ridge if it’s too thin. Both procedures take extra healing time—often several months—but they’re very important for a result that lasts a long time.
Instructions Before Your Procedure
A week or so before my surgery, my dentist gave me clear instructions. These included:
- Changing some medicines like blood thinners (always check with your family doctor or specialist).
- Starting antibiotics a day before, if they gave you a prescription.
- Not eating or drinking after midnight if you’re getting sedation.
- Getting someone to drive you home, since I’d be a little sleepy or dizzy from the sedation.
These steps might seem like a hassle, but they’re made to keep you comfy and safe. Following these steps carefully can really help things go smoothly.
Phase 2: Implant Placement – The Surgery
This is the part everyone asks about: the day of the surgery.
Numbing & Sedation Options
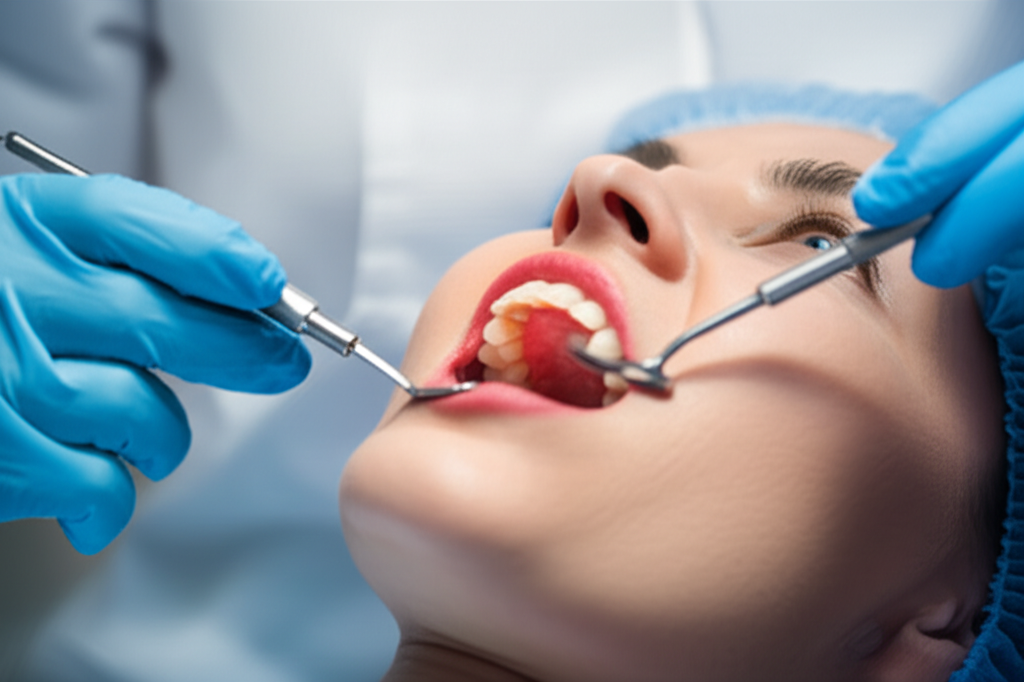
I felt very nervous walking into the clinic. But as soon as I sat down, the team walked me through the numbing and sedation options. Most single-tooth implants are done with local anesthesia—which means you’re awake, but the area is totally numb.
If going to the dentist makes you nervous (it did for me!), or if you’re getting multiple implants, your dentist might suggest oral sedatives or even IV sedation. General anesthesia is not common and is only for very difficult cases or people who just can’t handle being awake.
So, what does it feel like? In my experience, you feel pressure and vibration, but not pain. The worst part for me was waiting for it to start, not the surgery itself.
The Surgical Steps
Here’s what happened next in my chair, step by step:
The whole thing, for a single implant, took less than an hour from start to finish. If you need more implants, expect a bit longer, but honestly, it’s very manageable.
Afterwards, I was happy to find out how little I felt right away. The real magic is how new dental tools like CBCT scans and surgical guides make the surgery fast and accurate. (If you’re curious about the tools and accuracy involved, check out what a digital dental lab can do in this field.)
Phase 3: Healing & Osseointegration – The Important Waiting Time
I’ll be honest: after the numbness wore off, the healing part started. But knowing what to expect made the small discomfort easy to handle.
What to Expect Right After Surgery (First 24-72 hours)
- Pain: I felt a little to medium pain once the numbing wore off, and it was worst in the first two days. Ibuprofen and acetaminophen helped a lot. If you’ve ever had a tooth pulled, this is about the same or even less.
- Swelling and Bruising: My cheek got quite swollen by the next morning, which is very normal. Ice packs (10 minutes on, 10 minutes off) helped reduce it, as did sleeping with my head raised for a couple of nights.
- Bleeding: A little bleeding or pink spit is normal for the first few hours. My dentist gave me gauze pads to bite down on, and changing them worked.
- Diet: I stuck to a soft diet—like yogurt, blended soups, scrambled eggs, and smoothies—for a few days. Chewing on the other side didn’t bother the implant area.
- Cleaning Your Mouth: I was told to do gentle rinses (salt water or prescribed rinses), brush carefully, and not poke the area. Not using mouthwash with alcohol helped stop it from getting sore.
- Activity: No hard exercise for about a week. I took a break from heavy lifting at work, just to be safe.
- Driving: If you only have local anesthesia, you can drive yourself, but with sedation, someone must take you home.
By day five, I started feeling more like myself. The short-term bother was totally worth it when I look back.
The Osseointegration Process (3-6 Months)
Now comes the “hurry up and wait” part. Osseointegration—that’s the fancy word for how your jawbone joins with the titanium implant—takes 3-6 months for most people. If you had bone grafting, it might be closer to 6-9 months.
During this waiting time, you usually won’t see much. In my case, the gum healed over, leaving only a tiny bump. Some people get a healing cap sticking out of the gum. If your missing tooth is easy to see like mine was, your dentist may suggest a temporary tooth or flipper, which looks better and avoids strange gaps at work.
I’ll be honest: being patient was the hardest part. But knowing I would soon have a strong, permanent tooth kept me going.
Phase 4: Abutment & Crown Placement – Finishing Your Smile
When the big day for my final tooth came, I realized I was almost done.
Placing the Abutment
After checking with X-rays that the bone and implant had joined together (they use fancy words like “osseointegration” for this), my dentist made a small cut in the gum to show the top of the implant. The abutment—a kind of connecting piece—was attached. This visit was short and much easier than the first surgery.
Most people have a healing cap or temporary tooth for a week or two while the gums get better. For me, the area felt a little sore, but not as bad as the first surgery.
Making & Placing the Final Crown
Now for the fun part—the actual tooth! My dentist took a model of my mouth, either with a scanner or with goopy stuff. (If you’re interested in the techy side, labs like a zirconia lab use modern materials to make teeth that look real.) The dental lab created a custom crown matched to my bite and the teeth next to it.
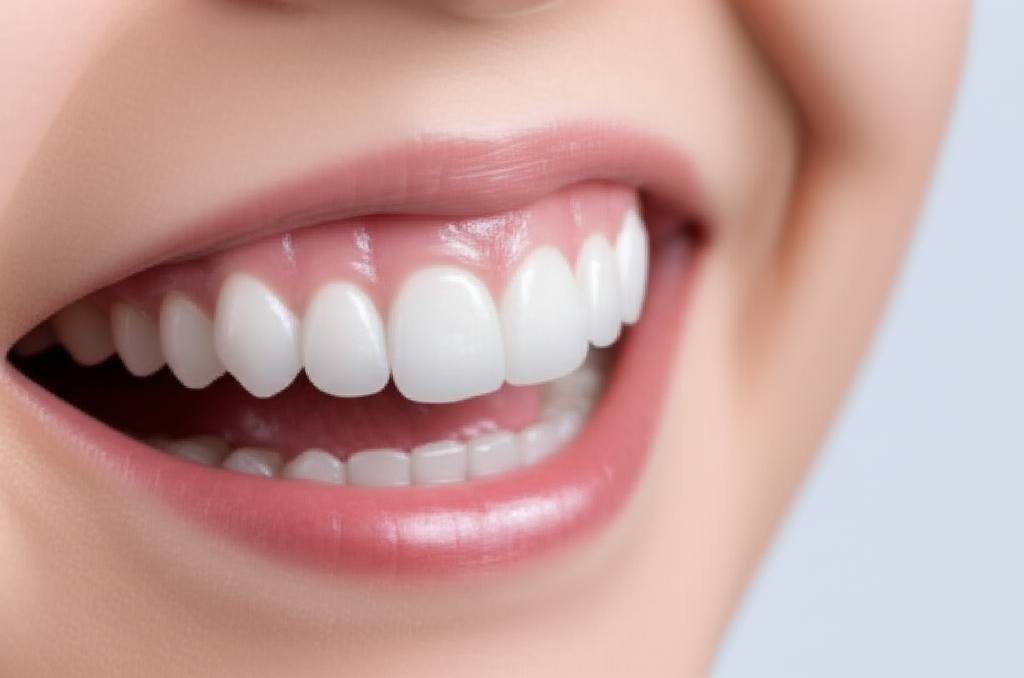
If you’re worried about how it looks, this is when you can talk about the look, feel, and color of your new tooth. It took a couple of weeks to make the crown. When it was ready, my dentist checked the fit, adjusted my bite, and attached the crown onto the abutment. With a mirror in hand, I couldn’t help but smile wide—after months of waiting, the final result looked and felt just like a natural tooth.
Long-Term Care & Upkeep for Your Dental Implants
Getting a dental implant isn’t a “set it and forget it” thing. In my experience, lasting success is all about daily care and following your dentist’s advice for upkeep.
Daily Mouth Cleaning
Implants can’t get cavities, but they can fail if you get gum disease or an infection around the implant (called peri-implantitis). Here’s what worked for me:
- Brushing: I used a soft-bristled toothbrush, paying extra attention around the implant.
- Flossing: Special floss for implants or tiny brushes helped clean the tough spots.
- Mouthwash: Alcohol-free versions kept my mouth fresh without making it dry.
- Regular Dental Visits: I kept up with cleanings and check-ups every six months. My dentist really stressed this: getting it professionally cleaned is a must to protect your investment.
How Long They Last & Success Rates
It’s normal to worry about how long this new tooth will last. I asked my dental team a lot of questions about it, and the numbers made me feel better. Studies show that with good care, single-tooth implants work more than 95% of the time for over ten years. Crowns might wear down after 10–15 years, but the implant itself can last a lifetime.
Lifestyle choices matter, too. Smoking, diabetes that isn’t managed well, and not taking care of your teeth can increase the risk of problems or the implant failing. If you want to make sure you have a long, problem-free experience, treat your implant like something valuable.
Possible Problems and How They Are Handled
Even the best treatment has some risks. I wanted to know everything that could go wrong—and what could be done if it did.
Common, Easy-to-Handle Side Effects
Most of what I felt after surgery was normal—swelling, mild pain, some bruising, and a bit of bleeding. These all went away after the first week. My dentist told me to expect these, and knowing that made them less worrying.
Rare Problems
In rare cases, someone might have:
- Infection: Signs are a fever, more swelling, or pain that doesn’t go away. My antibiotics before surgery and careful home care helped avoid this.
- Nerve Damage: This is very rare, thanks to 3D imaging like CBCT scans. You shouldn’t ignore numbness or tingling, though, so tell your dentist if it happens.
- Implant Failure: This only happens in 2–5% of cases, but it can happen because of weak bone, health problems that aren’t managed, or infection. I learned that failed implants can almost always be redone after some healing time.
- Peri-implantitis: Like gum disease but around the implant. Brushing and flossing are your best defense.
When to Call Your Dentist
If you ever have bad pain, a fever, a lot of bleeding that keeps coming back, or numbness that doesn’t go away, call your dental team right away. It’s better to check in early and catch problems before they get serious.
You can also find more advice about different dental problems and how to spot warning signs at resources like dental problems.
Conclusion: Feeling Ready to Start Your Journey
Looking back, the most important thing I learned about dental implants is this—the more you know ahead of time, the less stressful it is. Every step, from the first scan to the moment you see your new tooth, is planned for your comfort and long-term health. Yes, there are challenges like swelling and waiting, but the result is a strong, beautiful smile that feels natural and lets you chew, speak, and laugh with total confidence.
My advice to you? Ask questions, listen to your body, and find a dentist or oral surgeon you trust. If you want to know more about different tooth options like crown and bridge lab work or want to see how high-tech a china dental lab can be, don’t be afraid to learn more. Knowledge is your best tool for a successful, stress-free journey.
Now that you know what to expect during a dental implant procedure, you’re ready to go ahead feeling clear and calm. I wish you an easy process and many years of confident smiles