What is Bone Grafting for Dental Implants? My Essential Guide
Table of Contents
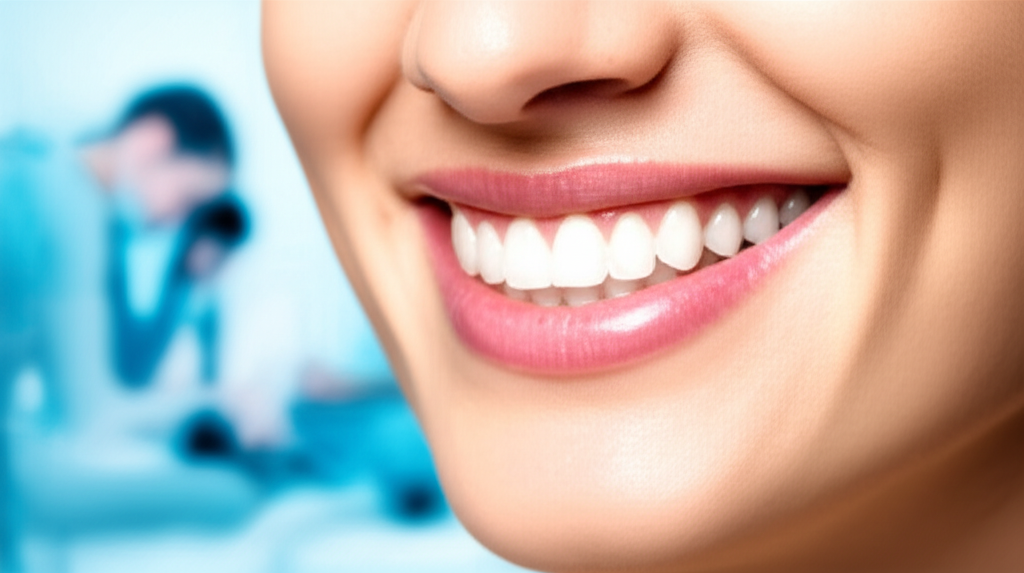
Introduction: My First Steps with Bone Grafting for Dental Implants
When my dentist first told me I’d need a bone graft before getting a dental implant, to be honest—I got a bit worried. Dental implants already sounded like a big deal. Now, having to deal with a bone graft too? I had a ton of questions and not many answers. But as I started the process, listened to experts, and—most of all—went through it myself, things got much clearer and I started feeling sure about it.
So, what is bone grafting for dental implants? Why do so many people—including me—need it before we get the “perfect” new tooth? Here’s what I found out, step by step, and everything I wish I had known earlier.
What Exactly is Dental Bone Grafting?
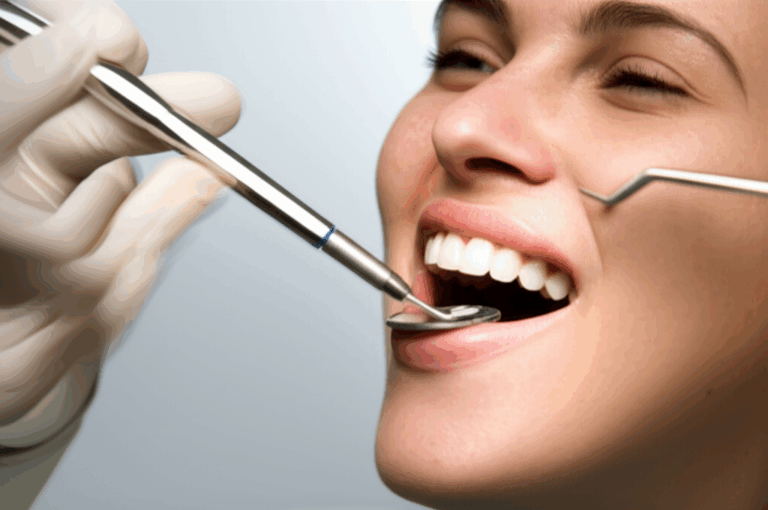
Let’s go over the basics, because this confused me at first. Simply, a dental bone graft is when a dentist or oral surgeon adds new bone (sometimes real, sometimes made in a lab) to your jaw. The main point? To make a strong, steady base for your future dental implant.
When you lose a tooth, the bone underneath starts to shrink. It’s almost like the jawbone needs the tooth to stay healthy; without it, the bone slowly goes away. For dental implants to work, you need enough good bone—both tall and thick enough. If your bone isn’t up to the job, the implant can’t go in right—or worse, it might not last. Bone grafting helps your jaw grow back, so you can have implants even after bone loss.
You can think of it like fixing a broken wall before you hang a heavy picture. If you don’t fix the wall, the picture might just fall. In my situation, the idea was to fix my jawbone before putting in the implant.
Why is Bone Grafting Necessary for Dental Implants? The Big Why
Honestly, the “why me?” question kept coming up for weeks after I learned I needed a graft. It turns out I’m not alone—about 60–70% of people looking to get dental implants need the same thing.
Common Reasons for Bone Grafting
- Not Enough Bone: Your jawbone might be too thin or too soft to hold an implant. In my case, my x-rays showed more empty space than bone where my tooth was.
- Tooth Pulled with No Bone Saving: When a tooth is pulled and nothing is done to save the “socket,” bone quickly starts to go away.
- Missing Tooth for Years: If you don’t have a tooth for a long time, the bone below can shrink a lot.
- Gum Disease: This sneaky sickness can slowly eat away the bone under your teeth.
- Injuries or Accidents: Bad falls or hits can hurt not just teeth, but the bone too.
- Born with Less Bone: Some people just don’t grow enough bone in some spots.
- Wearing Dentures for a Long Time: Wearing false teeth for years, especially if they don’t fit well, can make you lose bone faster.
If You Skip a Graft (But Really Need One)
If you skip a needed bone graft, you might have bigger problems. Implants could be loose or even not work at all. You might even get a sunken-in look, especially if the bone loss is in the front of your mouth. I really didn’t want that, and I don’t think you do either.
Types of Bone Grafts for Dental Implants Explained
I thought bone was just…bone, right? But there are different kinds, and picking the right one matters a lot.
Autogenous Grafts (Autografts): My Own Bone
Here, a piece of my own bone is taken from another spot (like my chin, jaw, hip, or leg). This is the “best” choice because it brings living bone cells, helping everything heal better. The only tough part? It means another spot has to heal, too.
Allogenic Grafts (Allografts): Donor Bone
This one surprised me—using cleaned human donor bone. It’s safe and doesn’t need a second cut on me. The material acts like a frame that my bone grows around, but doesn’t have living cells.
Xenogenic Grafts (Xenografts): Animal Bone
This is usually from cows or pigs—sterilized, of course. Like donor bone, it’s easy to find and doesn’t need a second cut, but it’s just a base for new bone, not living cells.
Alloplastic Grafts: Synthetic Substitutes
If using someone else’s or animal bone sounds weird, these are made in a lab, often from stuff like calcium phosphate. They work pretty well, but don’t kick off bone growth as strong as my own bone does.
Extras: PRF, PRP, and Membranes
Some dentists add things made from my own blood, like platelet-rich fibrin (PRF) or plasma (PRP), to help healing. They may also use a special cover—called a membrane—to keep out gum tissue and help bone grow right.
I liked knowing that my dentist looked at all these options—my health, how much bone was needed, and what would work best for me.
Common Dental Bone Grafting Procedures
Not every bone graft is the same. Depending on what you need, you might get one of these:
Socket Preservation
Right after having a tooth pulled, the dentist fills the space with graft stuff. This helps stop that quick, sunken-in look you sometimes see.
Ridge Augmentation
If your jawbone is too thin or too low, ridge augmentation builds it up. For me, my jaw where my molar was had gotten thin, so this was my fix.
Sinus Lift
For upper back teeth, sometimes the sinus is too close to where the implant goes. My friend had this done—her dentist carefully raised the sinus and put bone under it to make space.
This can be done from inside the jaw or by making a small opening on the side.
Bone Grafting for Gum Disease
Loss from gum disease can leave the bone around teeth (or where teeth used to be) badly damaged. Grafting here brings back the strong base, whether you keep your teeth or get an implant.
Each choice means a different recovery time and how it’s done, but the whole goal is the same: bring back strong, healthy bone.
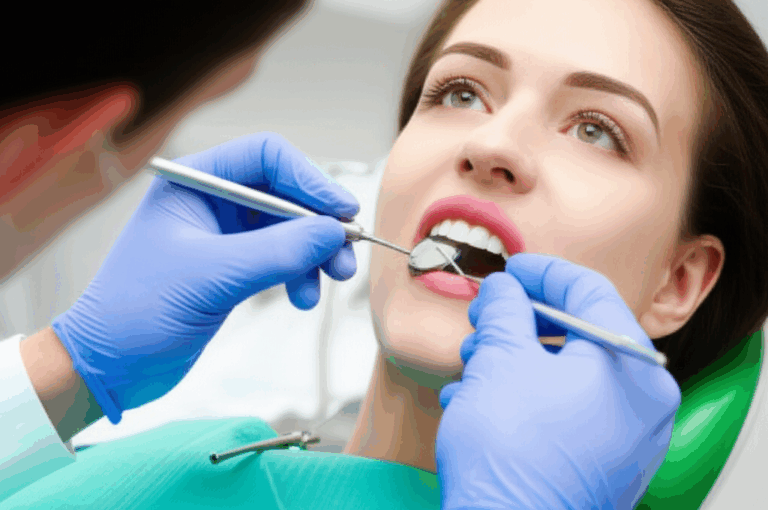
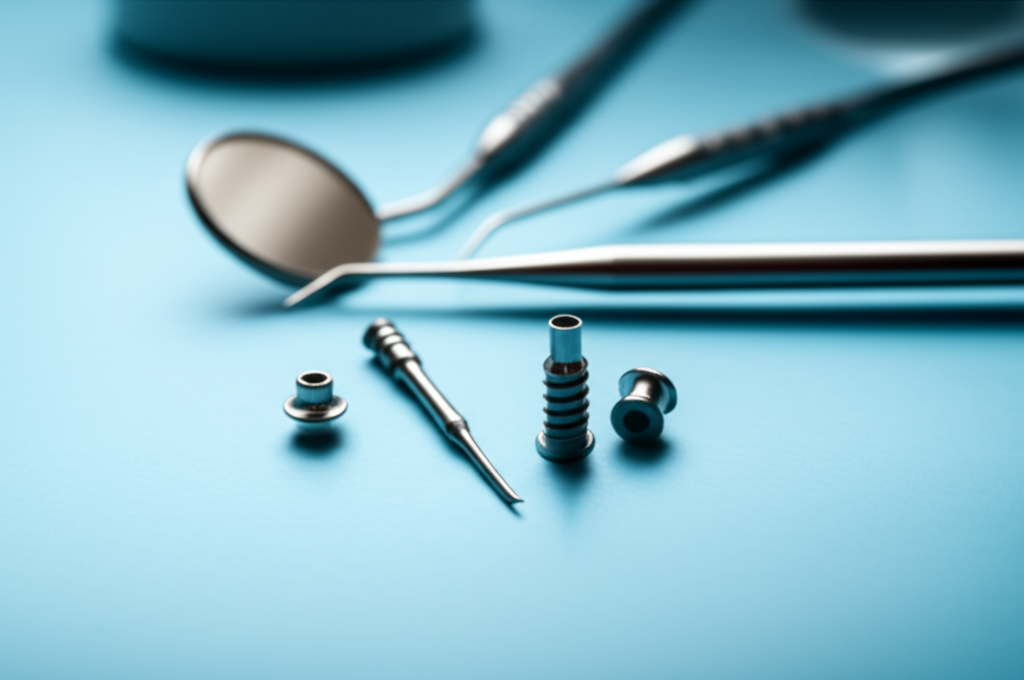
Step-by-Step: How the Dental Bone Grafting Procedure Works
When I walked into this, I was nervous. Now that I’ve done it—and talked to others—here’s what really happens.
1. Consultation and Planning
My dentist checked my health, looked in my mouth, and did a 3D scan (kind of like a super x-ray). We talked about what type of bone graft I’d need, how much, and how long it would take to heal.
2. Numbing
I got numbed up with local anesthesia, so I didn’t feel pain. For longer or bigger grafts, some places offer stronger sedation if you’re scared.
3. Opening the Gum
The dentist carefully opened my gums to get to the spot that needed work. It sounds worse than it is—the numbing really helped.
4. Putting in the Graft
They put the bone graft material (mine was part synthetic and a bit from my own jaw) in the spot missing bone.
5. Covering
They placed a special cover (membrane) over the bone to protect it and help bone grow.
6. Stitches
My gum was sewn shut. The stitches either melted away after a week or two, or I returned to have them taken out.
The whole thing took a couple of hours at most. I felt tired and groggy after, but glad it was done. The toughest bit? Waiting for everything to heal.
My Recovery and Healing Process After Bone Grafting
I won’t lie: recovering wasn’t always fun, but it was not too bad either. Here’s what happened for me—and what helped.
First Few Days After Surgery
- Pain and Swelling: For 2–3 days, my cheek was swollen and sore. Ice packs and the medicines the dentist gave me were super helpful.
- Bruising and a Bit of Bleeding: I saw some bruises and a little pink in my spit. I used gauze like they said.
- Eating: I stuck to soft stuff like yogurt, mashed potatoes, and smoothies. No crunchy or spicy things.
- Cleaning My Mouth: I rinsed gently with salt water and didn’t brush near the surgery for a few days. No mouthwash with alcohol.
- Taking It Easy: No heavy lifting or running—just resting.
- No Smoking or Drinking: These make healing slower. I stopped (at least for a couple weeks).
Healing Over the Next Months
Bone takes time to grow. My dentist said the new bone would slowly replace the graft over 3 to 9 months, depending on what was done. For small grafts after extractions, it was about three months. Sinus lifts or ridge builds? Closer to nine months.
In the meantime, I got checkups and more scans to see how the new bone was growing. My dentist only wanted to go for the implant when the bone was nice and solid.
When Could I Get My Implant?
Only after my dentist said the bone was healed and strong enough did we think about putting in the implant. Doing it too early could mess up the whole process.
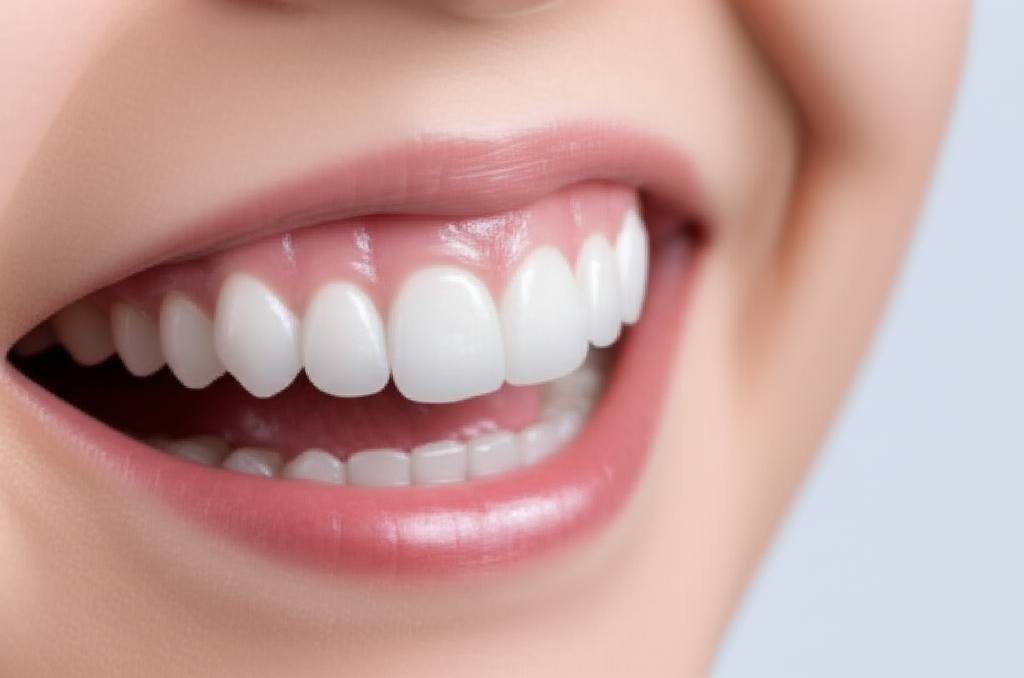
Benefits of Bone Grafting for Dental Implants
At first, bone grafting felt like a roadblock—something I had to do. But now I see it’s like pouring a good foundation before you build a house.
- Makes Implants Possible: Without enough bone, you just can’t have implants. This fixes that.
- Keeps Implants Strong: Implants set in solid bone last longer and handle chewing better.
- Lets You Eat and Talk Better: You can enjoy food and talk like normal.
- Keeps Your Face Full: Losing bone can make your face look sunken or older. Grafting helps your face stay its regular shape.
- Looks More Natural: For front teeth, having good bone under the gums makes the result look more real.
- Helps Other Teeth, Too: By stopping bone loss, it also helps keep other teeth steady.
Now I see bone grafting as putting money into my health and my smile for years to come.
Risks and Complications: What I Learned to Watch Out For
No procedure is totally safe, but knowing the facts helped me stress less.
- Infection: The most common issue, but with good cleaning and medication, pretty rare.
- Pain, Swelling, Bruising: Usually goes away, but can last longer with big grafts. Ice packs saved the day.
- Nerve Problems: Rare, but your dentist will be careful.
- Sinus Problems: With upper jaw grafts, sometimes the sinus can get hit. It usually heals fine, or gets fixed right away.
- Graft Doesn’t Work: Sometimes the body just doesn’t accept the new bone, but regular checkups catch this early.
- Allergy: Very rare with today’s materials.
- Cover Coming Loose: Sometimes the membrane or graft shows through. My dentist looked for this at every visit.
What helped me relax was knowing that if you listen to your dentist and take care of yourself afterward, serious trouble is uncommon.
If you want to read more about implant success and possible dental problems, this dental implant resource has helpful tips.
The Cost of Dental Bone Grafting: My Experience
I’m not going to lie—the first talk about costs made me nervous. Bone grafting isn’t cheap, but the price can change a lot depending on a few things.
What Makes the Price Go Up or Down
- Type of Graft: Using my own bone cost more than donor or synthetic bone, because of the second surgery.
- How Hard the Procedure Is: A simple graft after pulling a tooth may be a few hundred dollars, but bigger jobs like a sinus lift can hit thousands.
- Where You Live: Big city clinics or fancy offices usually cost more.
- Type of Numbing: IV or full sedation costs extra.
- Insurance: Some dental insurance helped pay for this, but mostly when it was for health, not just looks. Always ask your provider first.
What I Paid
For me, a small-area graft using a mixed synthetic/donor blend cost about $600–$1,200. My friend with a big sinus lift paid closer to $3,000, but she says it was worth it.
When you think about how much failed implants or redo’s would cost, getting it right the first time is worth the money.
Conclusion: Building My New Smile—One Foundation at a Time
Looking back, the idea of a bone graft for my implant was scary. But once I learned more, asked questions, and trusted my dentist, it felt a lot more doable—even normal.
My advice? Get informed, pick a good dentist or oral surgeon, and ask all the questions you need. Modern technology—like you’d find in a china dental lab—makes these procedures safer and more routine than ever. Even what happens to your final crown depends on the foundation you build with the graft. If you care a lot about looks, learning about a dental ceramics lab might help.
For me, bone grafting gave back eating and smiling—and more than that, my confidence. If you’re at this step, you aren’t alone, and you’re in good hands.
Any questions? Nervous about your own surgery? I’ve been there, done that, and came out smiling—literally. Here’s to fixing your foundation and loving the results for years to come!